Epoxy floors
How to prepare a garage floor for epoxy (and why grinding matters)
By the Peak Surfaces team · · 6 min read
A garage floor is prepared for epoxy by diamond grinding the concrete to a clean, open profile, repairing cracks and spalled edges, testing the slab for moisture and priming it before any colour goes down. Grinding matters because epoxy bonds mechanically: it needs bare, textured concrete to grip, and a slab that is smooth, sealed, dusty or oily gives the coating nothing to hold.
This guide covers why coatings fail on unprepared concrete, how grinding compares with acid etching, what the moisture test, repairs and primer each do, what to clear out beforehand, how long the floor needs before you walk and park on it, and how flake and solid colour change the look.
Why epoxy fails on unprepared concrete
Epoxy fails on unprepared concrete because it bonds to whatever is on top of the slab, and on most garage floors that is not sound concrete. A trowelled slab is finished with a thin skin of laitance, a weak paste of fine cement that rose to the surface as it was finished, and many slabs also carry a curing compound or sealer from the day they were poured. Epoxy grips these layers well, but they grip the concrete poorly, so the coating comes away with grey dust stuck to its back.
The classic failure shows up in the tyre tracks within months: a warm tyre softens a thin coating, and if the bond beneath is weaker than the tyre's grip, the film peels in a tread-shaped strip. The usual causes:
- Laitance or a sealer left in place, so the coating never touched real concrete.
- Oil, brake dust or silicone spray soaked into the slab where the car parks.
- Moisture vapour rising from the ground, which lifts the film as bubbles and blisters.
- Old paint that looked sound but was not sound enough to build on.
Diamond grinding versus acid etching
Diamond grinding is the standard preparation for a two-pack epoxy floor; acid etching is a lighter method suited to thin single-pack garage paints and not much else. Etching reacts diluted acid with the cement at the surface to roughen it slightly. It does not remove sealers, old coatings or oil-soaked patches, it works unevenly on dense or dirty slabs, it leaves salts behind unless rinsed thoroughly, and it soaks the slab with water that must dry out before coating.
Grinding uses a walk-behind machine with diamond segments that abrade the top of the slab under vacuum, with a hand grinder for edges and corners. It strips laitance, curing compounds, paint and adhesive, takes down high spots and leaves a uniform, lightly textured profile, like fine sandpaper, that the primer can wet into. Because it is dry and extracted, there is no drying delay and far less dust than people expect.
Moisture testing, repairs and primer
Moisture testing measures how much water vapour is moving up through the slab, because vapour pressure is a leading cause of epoxy lifting from below. Slabs poured without a plastic membrane, or sitting on damp ground, can read high even when the surface looks dry. A sheet test, a square of plastic taped to the slab overnight and checked for condensation, gives a first indication; surface meters or in-slab probes give a number.
Repairs follow grinding, once the true condition of the slab shows. Static cracks are routed open, vacuumed, filled with rigid epoxy filler and ground flush; spalled joint edges and pop-outs are rebuilt with epoxy mortar. Control joints, the saw-cuts that let the slab move, are typically filled with a flexible compound or kept as a neat line, since a coating forced across a moving joint cracks along it.
A primer then goes onto the vacuumed slab: a low-viscosity epoxy that soaks into the open pores, binds any remaining dust and seals the surface so the thicker colour coats do not pinhole as air escapes from the concrete. It typically cures overnight before colour goes down.
What to clear out before the crew arrives
The garage needs to be empty before grinding starts, down to the bare slab, because anything left behind leaves an uncoated island with a visible edge.
- Everything on the floor: shelving, the second fridge, bikes, bins, workbenches, rubber mats and the car.
- Heavy oil patches scrubbed with degreaser a few days ahead, so the grinder has less to chase.
- Fixed racking or benches you want to keep, flagged beforehand so the coating can stop neatly at their feet.
- Somewhere else to park for the job and the cure, typically about a week in total.
- Pets and kids out of the garage from grinding day until the floor is cleared for use.
Cure times and when you can walk and park
A two-pack epoxy floor is typically walkable after a day, ready for light items after two to three days and for cars after five to seven days, depending on temperature and the thickness of the system. Epoxy cures by chemical reaction, so cold slows it, and a floor laid in a Melbourne winter can need the long end of every range.
Full chemical resistance only arrives at full cure, typically a week or more, so early spills of petrol or brake fluid should be wiped up promptly. For the first drives in, avoid turning the steering wheel while the car is stationary, which twists a warm tyre against a young coating.
Flake or solid colour: how the look changes
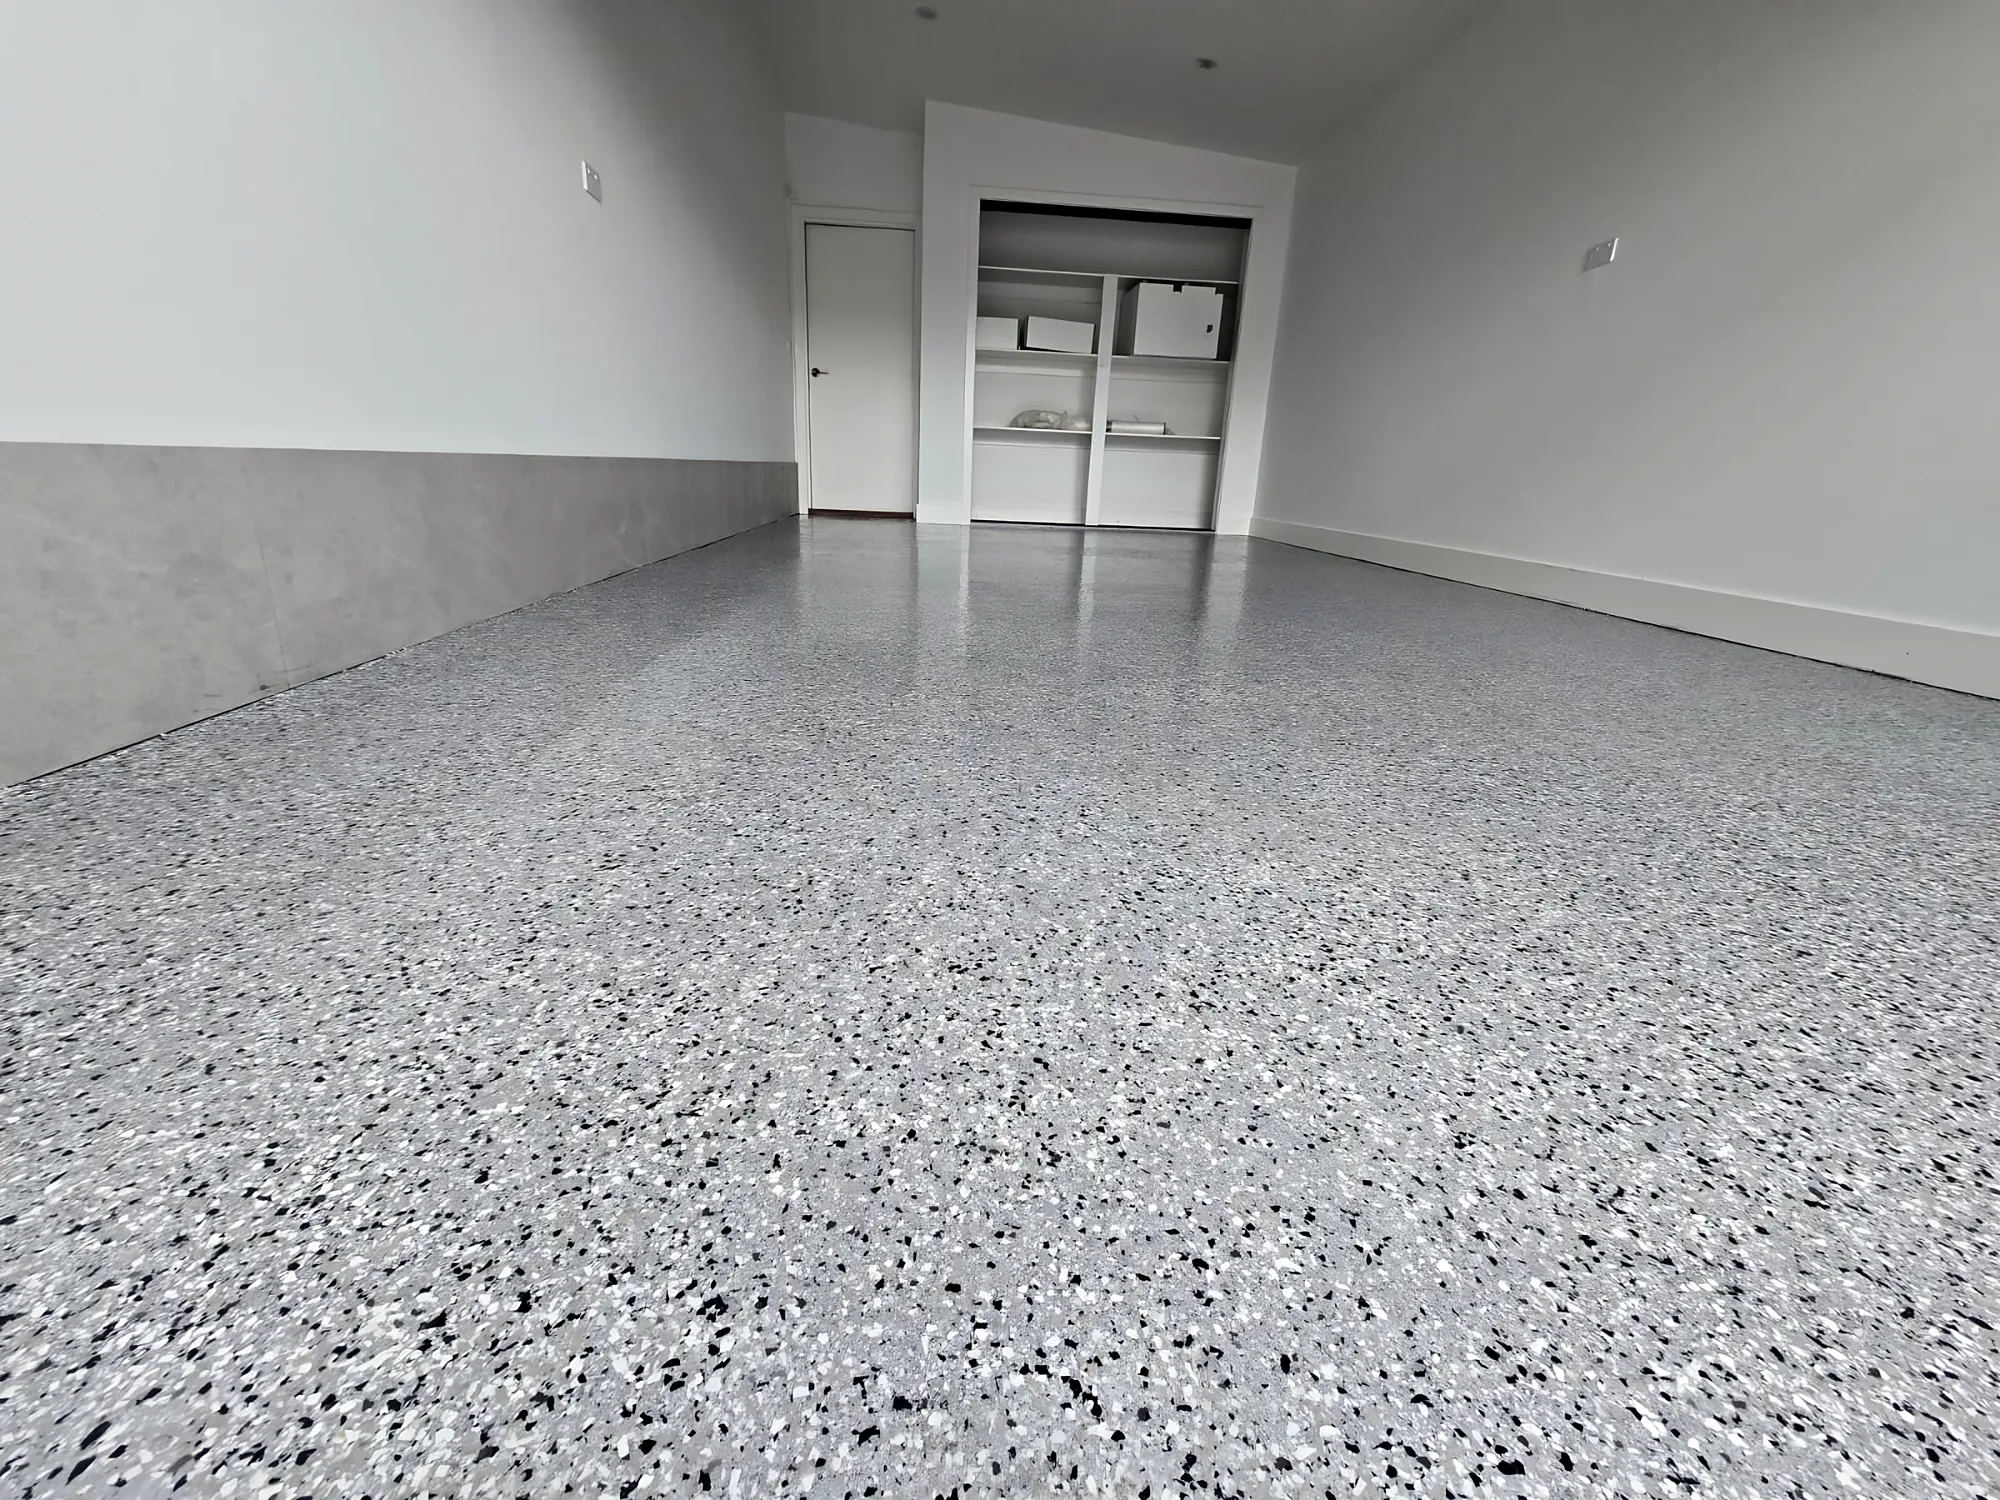
Flake and solid colour are the same two-pack epoxy underneath; the difference is what goes into the base coat and how much the finish hides. In a flake floor, coloured vinyl flakes are broadcast into the wet base coat to full coverage, then scraped back and sealed under a clear topcoat. The speckle disguises filled cracks, dust, tyre marks and variation in the slab, and adds a little texture underfoot.
A solid-colour floor is two pigmented coats in one shade. It looks crisp and bright, makes dropped parts and new leaks easy to spot, and shows the slab honestly, so every speck of dust and the ghost of every repair shows too. It suits a workshop or a showpiece garage; flake suits a family garage that has to forgive a lot. Anti-slip grit can go into the topcoat of either.