Kitchens & Bathrooms · Across Victoria
Tiling & Splashbacks in Melbourne
New splashbacks and replacement tiles, same layout, no plumbing moved.
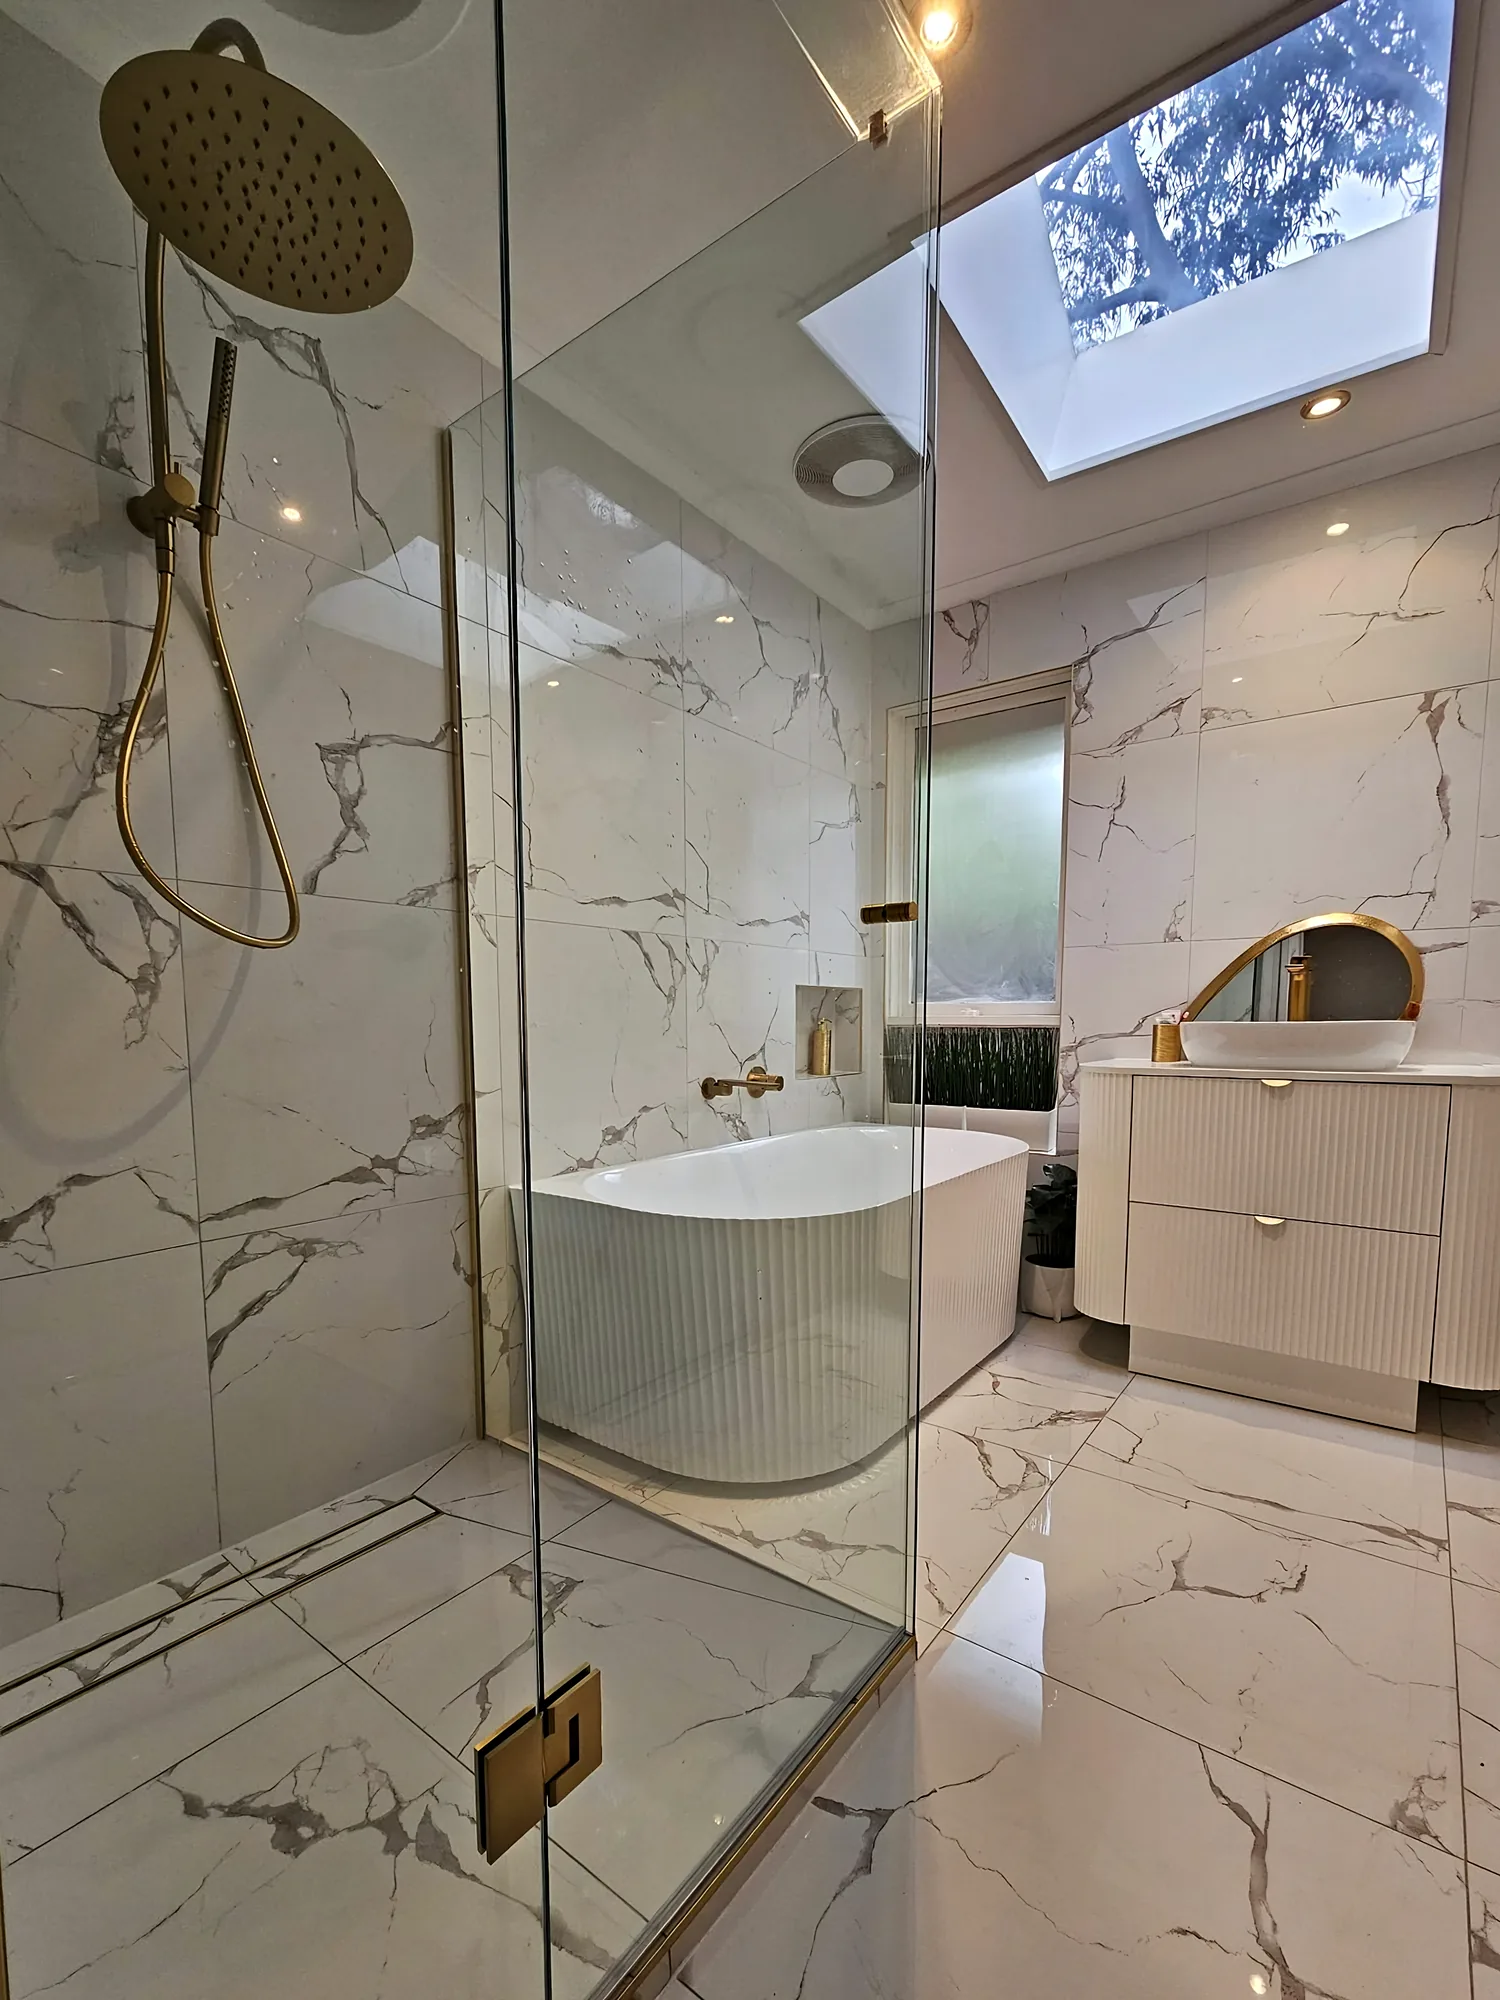
 Ensuite with marble-look tiles and a fluted vanity
New splashbacks and replacement tiles laid in the existing layout, so no plumbing lines move.
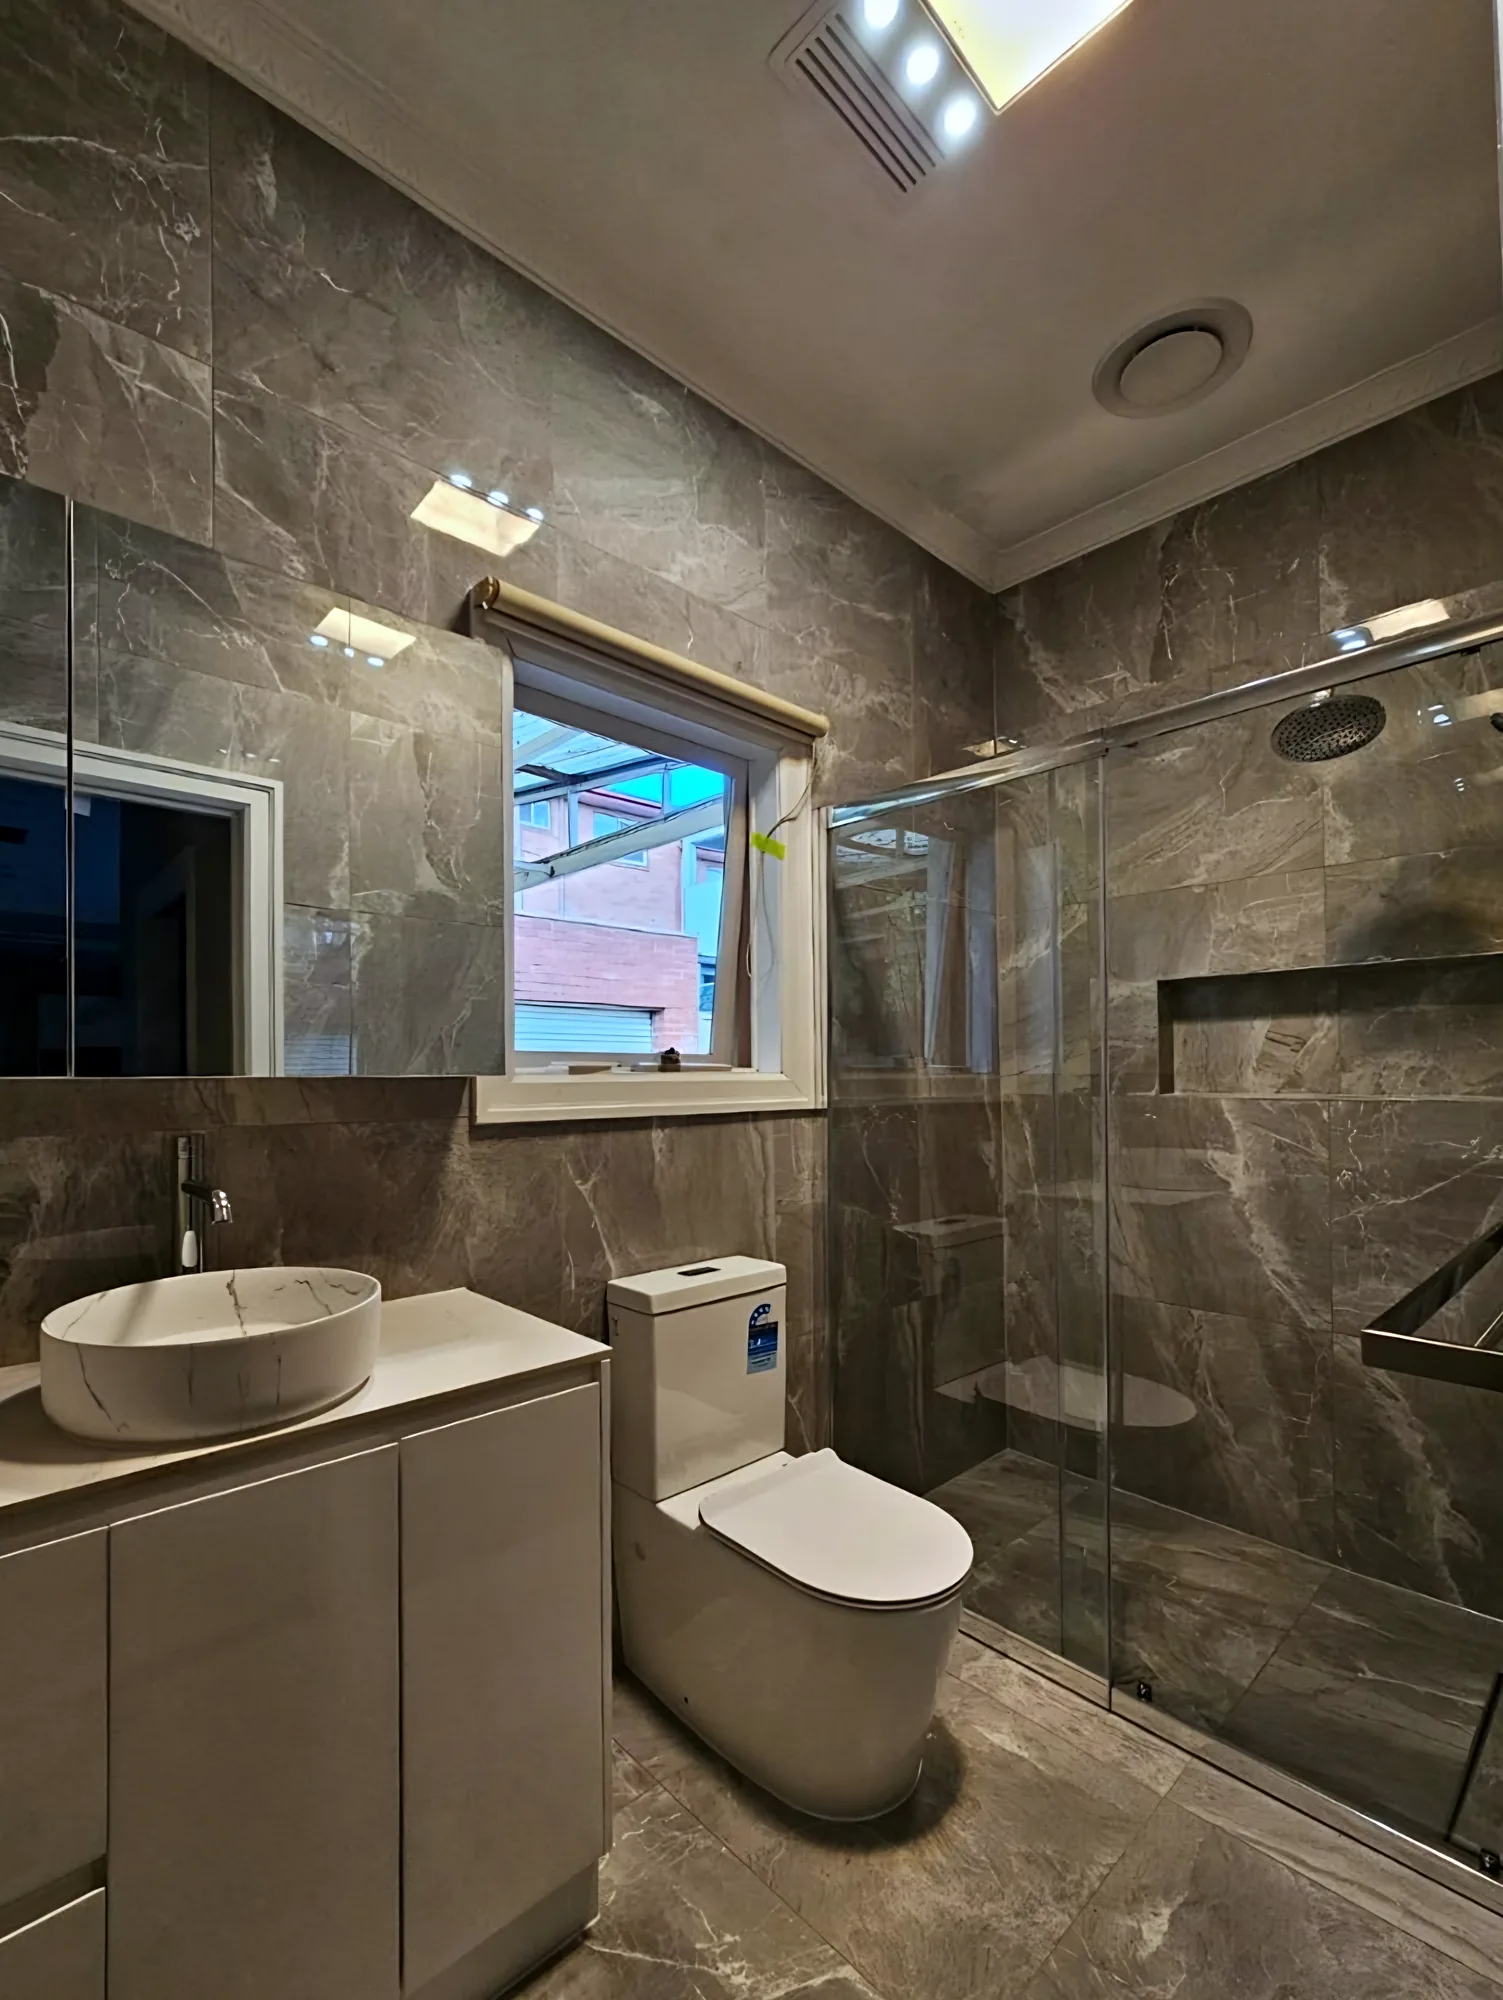
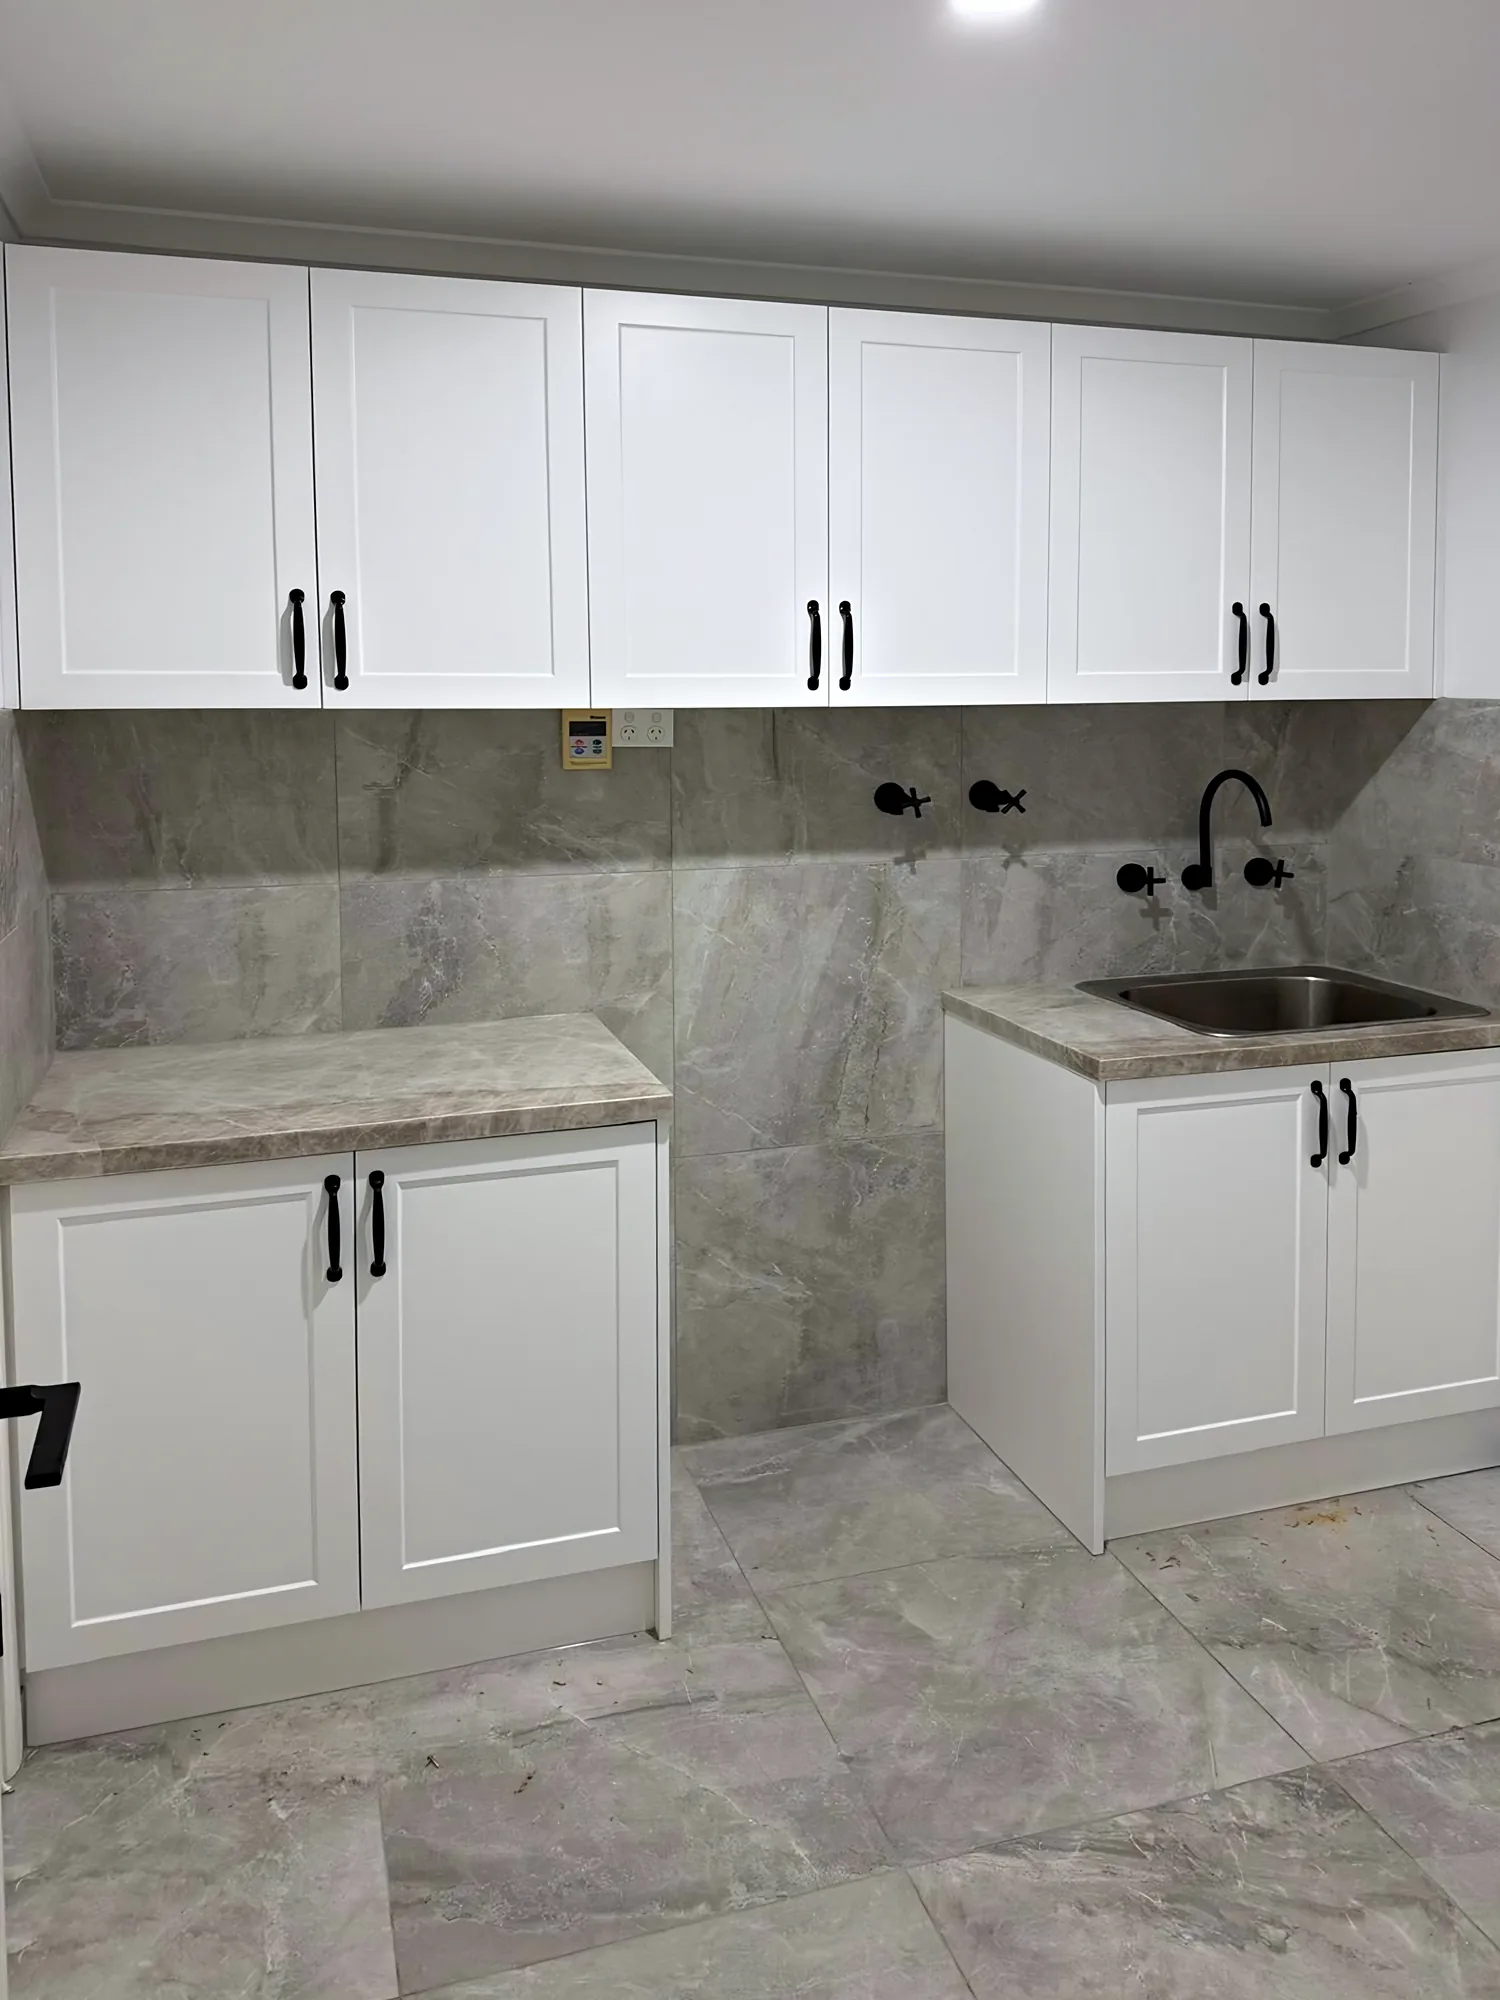
Tiling and splashbacks is the installation of new ceramic, subway and porcelain splashback tiles, and the replacement of worn floor and wall tiles in the same layout, for Melbourne homeowners, landlords and small businesses who want a new surface without moving a single pipe. It suits a room whose layout works and whose tiles let it down.
We set the tiles out to the pattern you choose: brick-bond or stacked subway, vertical fluted ceramic, mosaic sheets behind the cooktop, or large-format porcelain with few joints. Grout colour is picked with the tile in hand, because charcoal, white and mid-grey each give the same tile a different character.
Waterproofing membranes and plumbing changes are outside our scope. New tiles are cut neatly around the existing toilet, vanity, floor waste and tapware, and if a wet-area floor needs a new membrane we say so at the quote rather than tile over it.
When you need it
- The kitchen splashback is cracked, grease-stained behind the cooktop or the wrong colour for a new benchtop.
- Bathroom or laundry floor tiles have cracked or drummed loose, but the room layout still suits you.
- A new benchtop or rangehood has left a gap the old tiles no longer cover.
- A rental needs damaged tiles replaced before the next inspection or listing photos.
- You want a marble-look or dark stone-look porcelain floor in a bathroom whose fixtures are staying put.
What is included
- A site visit to measure, check the substrate and confirm no plumbing or waterproofing work is involved.
- Help choosing tile format, bond pattern and grout colour against your benchtop and cabinets.
- Old tiles removed and taken away, with the dust kept under control.
- Setting out from a centre line so the end cuts match and grout lines run true.
- Tiles laid with spacers for even joints and cut around existing power points, windows and fixtures.
- Grouting in your chosen colour, flexible sealant at the benchtop and corners, and a final clean.
Our preparation and application process
Step 1: Measure and set out
We check the wall or floor for flatness and mark a layout with balanced cuts at both ends.
Step 2: Protect and strip
Benchtops, cabinets, appliances and adjoining floors are sheeted and taped before the old tiles come off.
Step 3: Prepare the substrate
Old adhesive is ground back, hollows filled and the surface primed so the new tiles never drum.
Step 4: Lay the tiles
Tiles are bedded in full adhesive with spacers, cut around existing fixtures and left to set untouched.
Step 5: Grout, seal and clean
Once set, we grout in your colour, seal the benchtop and corner joints, polish off the haze and remove the masking.
Materials and systems
Ceramic tiles
The everyday splashback tile: glazed, easy to cut and clean, in gloss or matt colours and fluted or handmade-look faces.
Subway tiles
Small rectangles laid in brick bond, stacked or herringbone; the grout colour does as much for the look as the tile.
Porcelain tiles
Denser and harder-wearing than ceramic, so the pick for floors and busy walls, in marble-look, stone-look and plain finishes.
What affects the cost
- The area in square metres and whether it is a splashback, a floor or both.
- Tile size and pattern: mosaics and herringbone take longer than large tiles in a straight bond.
- How many cuts the room needs around power points, windows, niches and fixtures.
- How much levelling the substrate needs once the old tiles are off.
- The tile itself: porcelain and feature ceramics cost more per box than plain ceramic.
We do not publish prices because every surface is different. Get a free quote with the scope written down.
How long it takes
A kitchen splashback typically takes one to two days on site, depending on tile size and the number of cuts. A bathroom or laundry floor typically takes two to three days, because the old tiles come up and the substrate is levelled first.
Adhesive typically sets overnight before grouting, depending on the product and room temperature, and a floor stays off limits meanwhile. Allow another day or two after grouting before heavy use.
How to prepare
- Clear the benchtop and empty the cupboards beneath the splashback so nothing collects dust.
- Choose your tile and grout colour before we arrive, and keep a spare box for future repairs.
- For a floor, plan to stay out of the room during the set and grout time.
- Book any plumber or electrician first; we tile around finished fixtures, not before them.
FAQ
Tiling & Splashbacks: questions people ask.
Can you replace a kitchen splashback without removing the benchtop or cooktop?
Yes. We protect them, strip the old tiles back to the wall and lay the new ones up to a clean, sealed junction. Have any new cooktop or rangehood fitted first so we tile to its size.
Can you replace bathroom floor tiles without moving the toilet or vanity?
Yes, if the layout stays the same: new tiles are cut around the existing toilet, vanity and floor waste, so the plumbing never moves. We do not repair or install waterproofing membranes; a failed membrane needs a waterproofer first.
What grout colour should I use with subway tiles?
A grout close to the tile colour reads as one calm surface; a contrast such as charcoal with white shows off the pattern. Mid-grey hides cooktop marks best. We bring sample sticks to hold against your tile.
How much does a new tiled splashback cost?
It depends on the area, the tile, the pattern and how many cuts the wall needs; mosaic herringbone takes more labour than straight-laid subway. Removing old tiles and patching the wall also count. We measure and quote in person for free, with no obligation.
How long does it take to tile a splashback or a bathroom floor?
Typically one to two days for a kitchen splashback and two to three for a bathroom floor, depending on tile size, pattern and the substrate, plus adhesive set and grout curing time before full use.
Often booked together
Related services
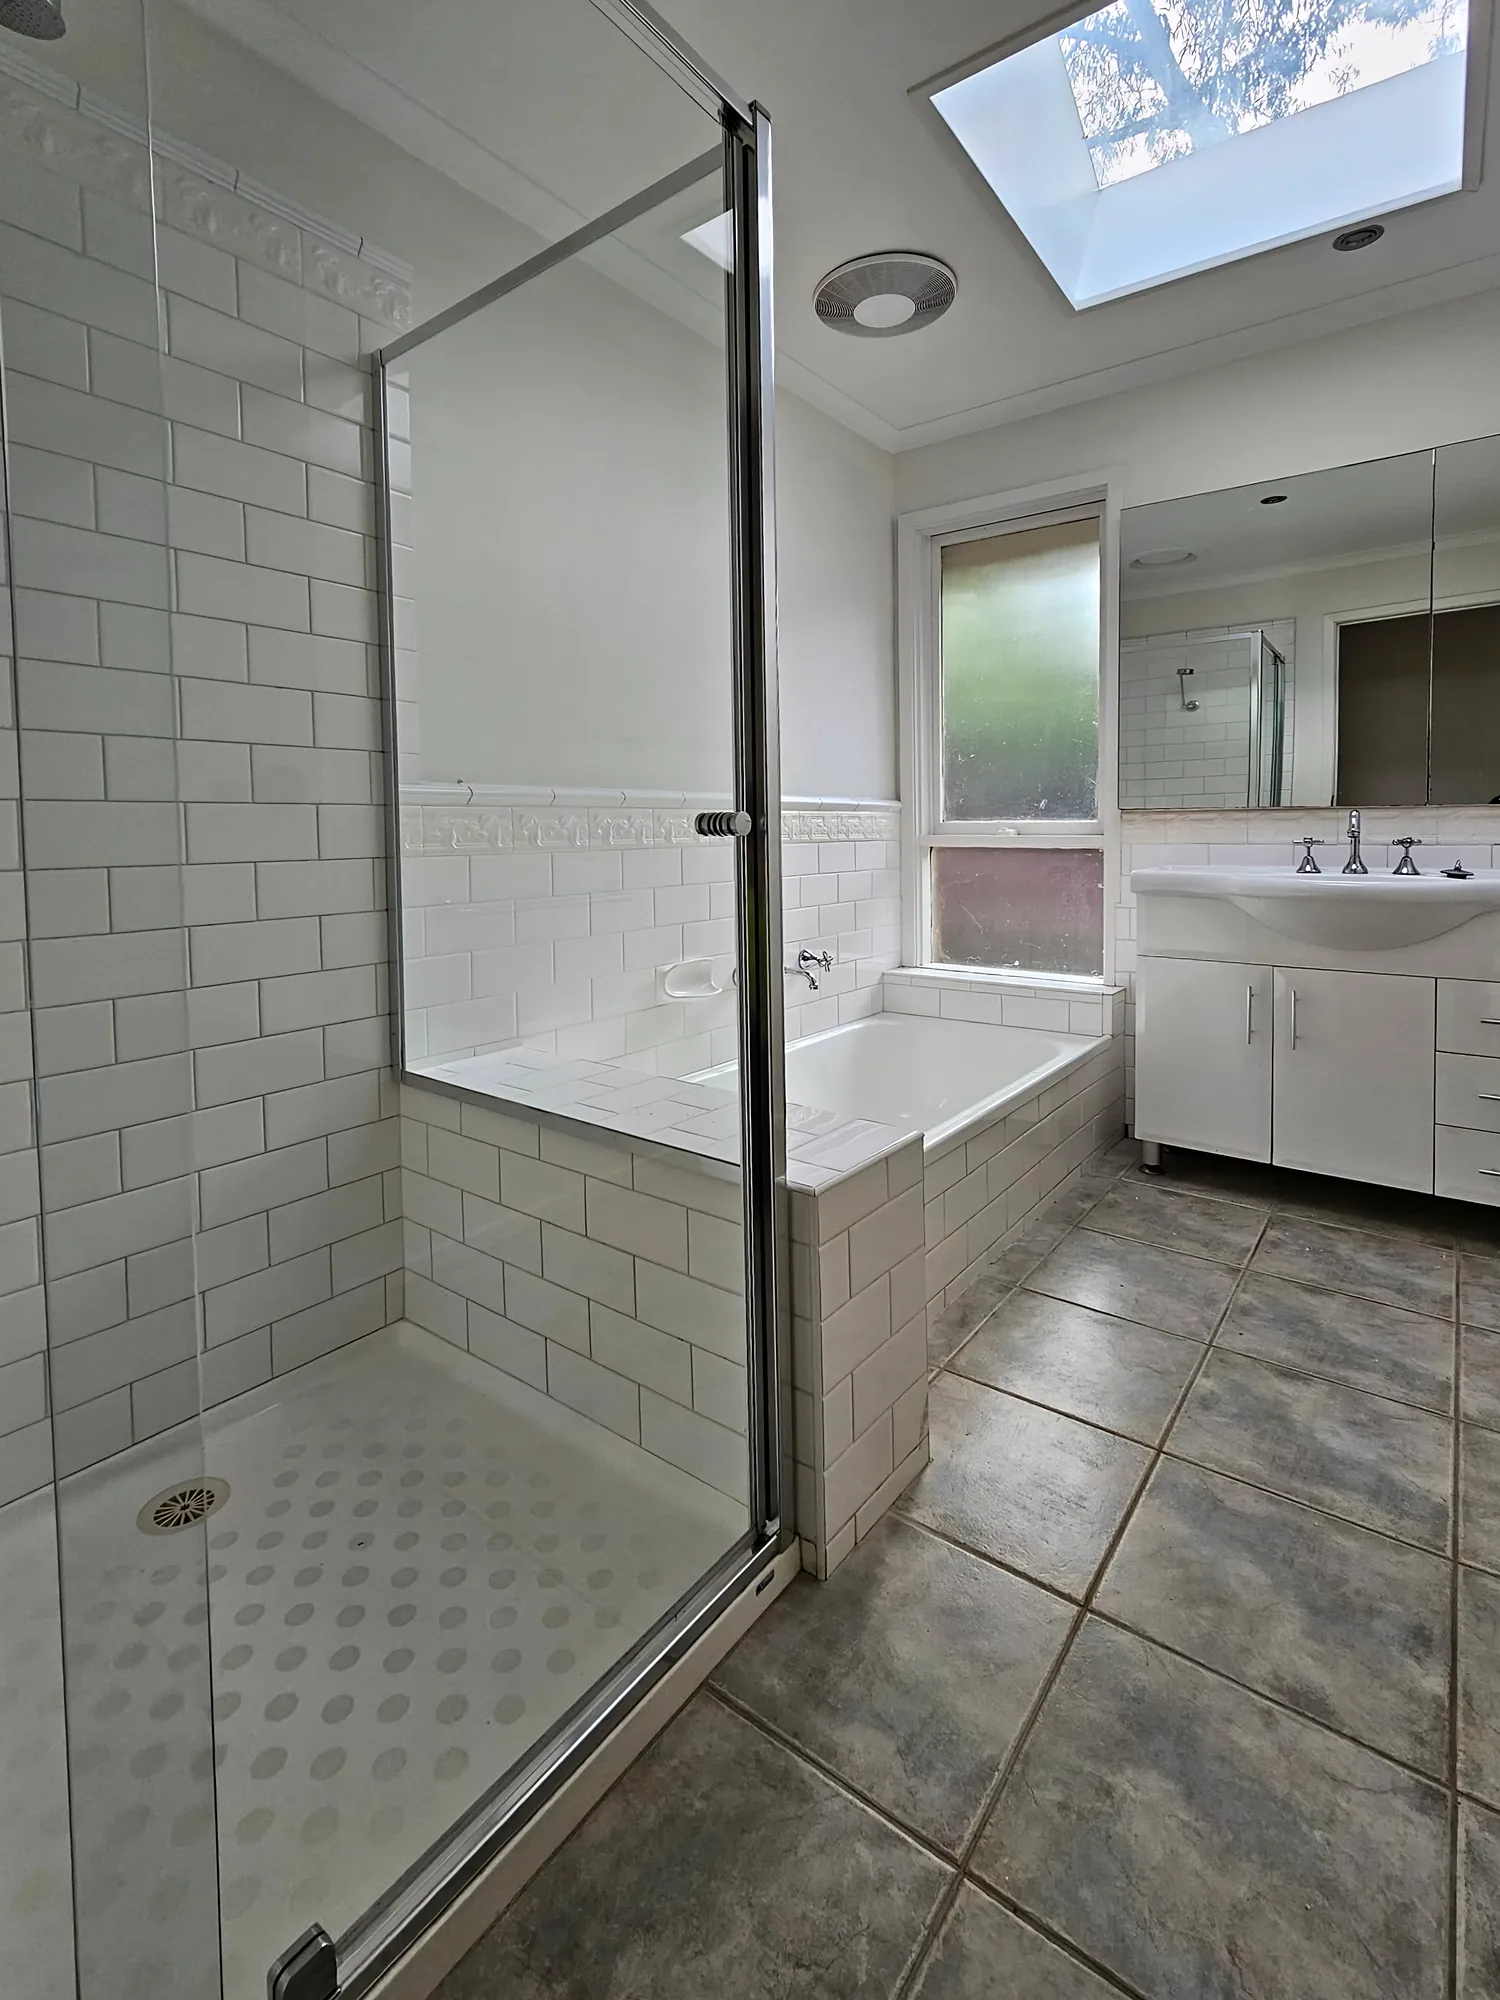
Tile Resurfacing & Re-Grouting
Dated tiles recoated, grout replaced, silicone renewed. No demolition.
Learn more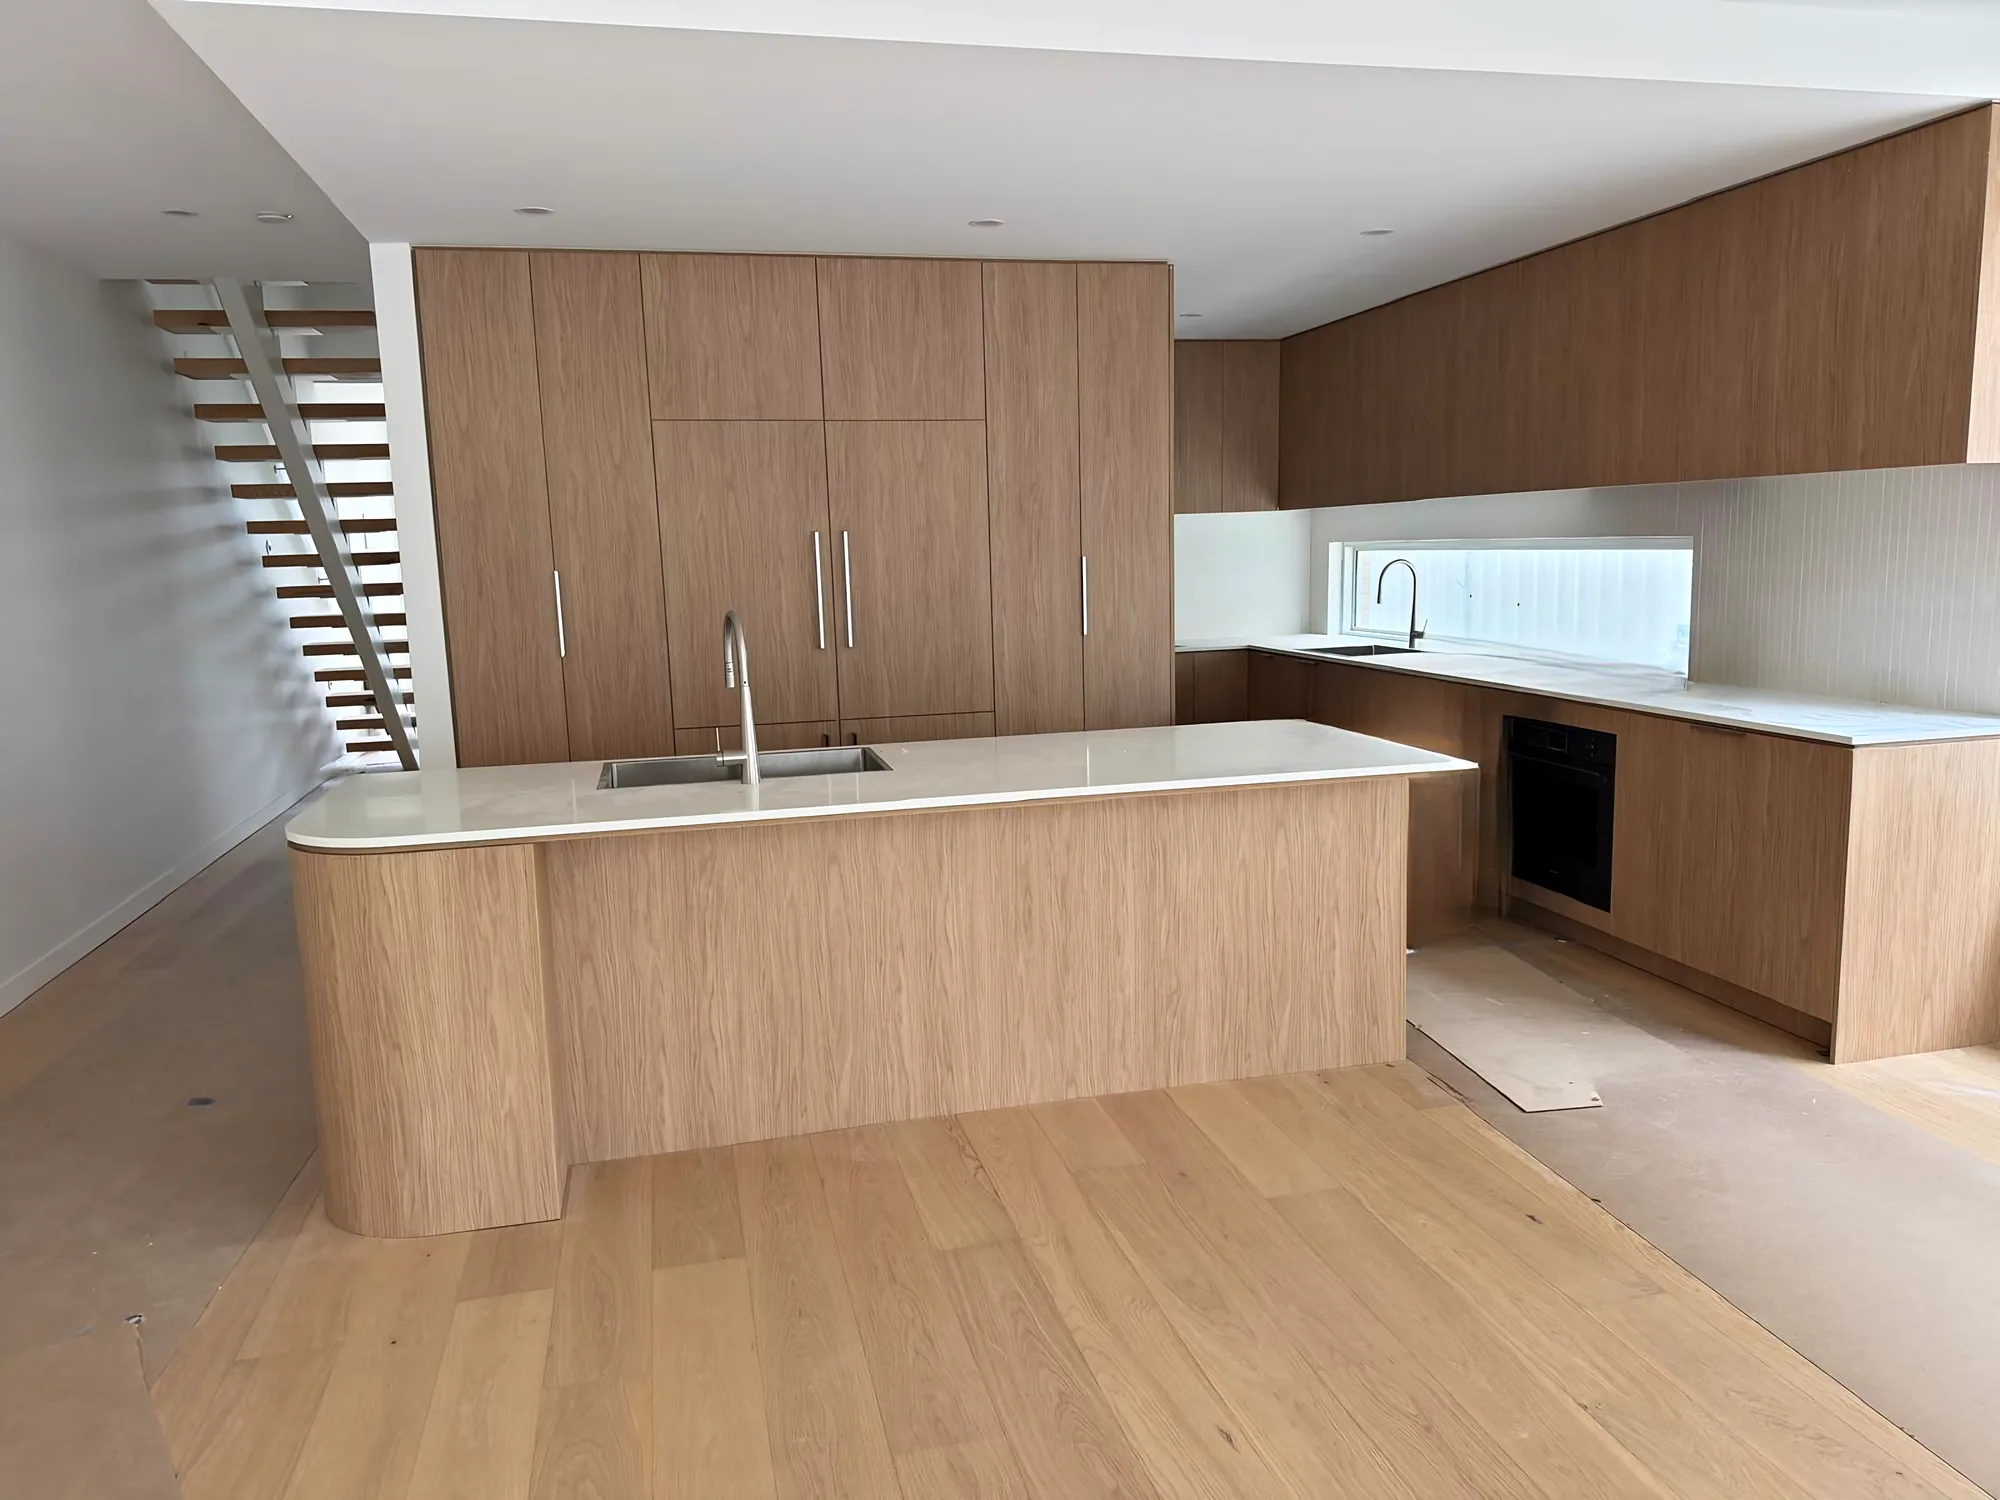
Cabinetry & Vanity Resurfacing
A new-look kitchen or bathroom without replacing a single cabinet.
Learn more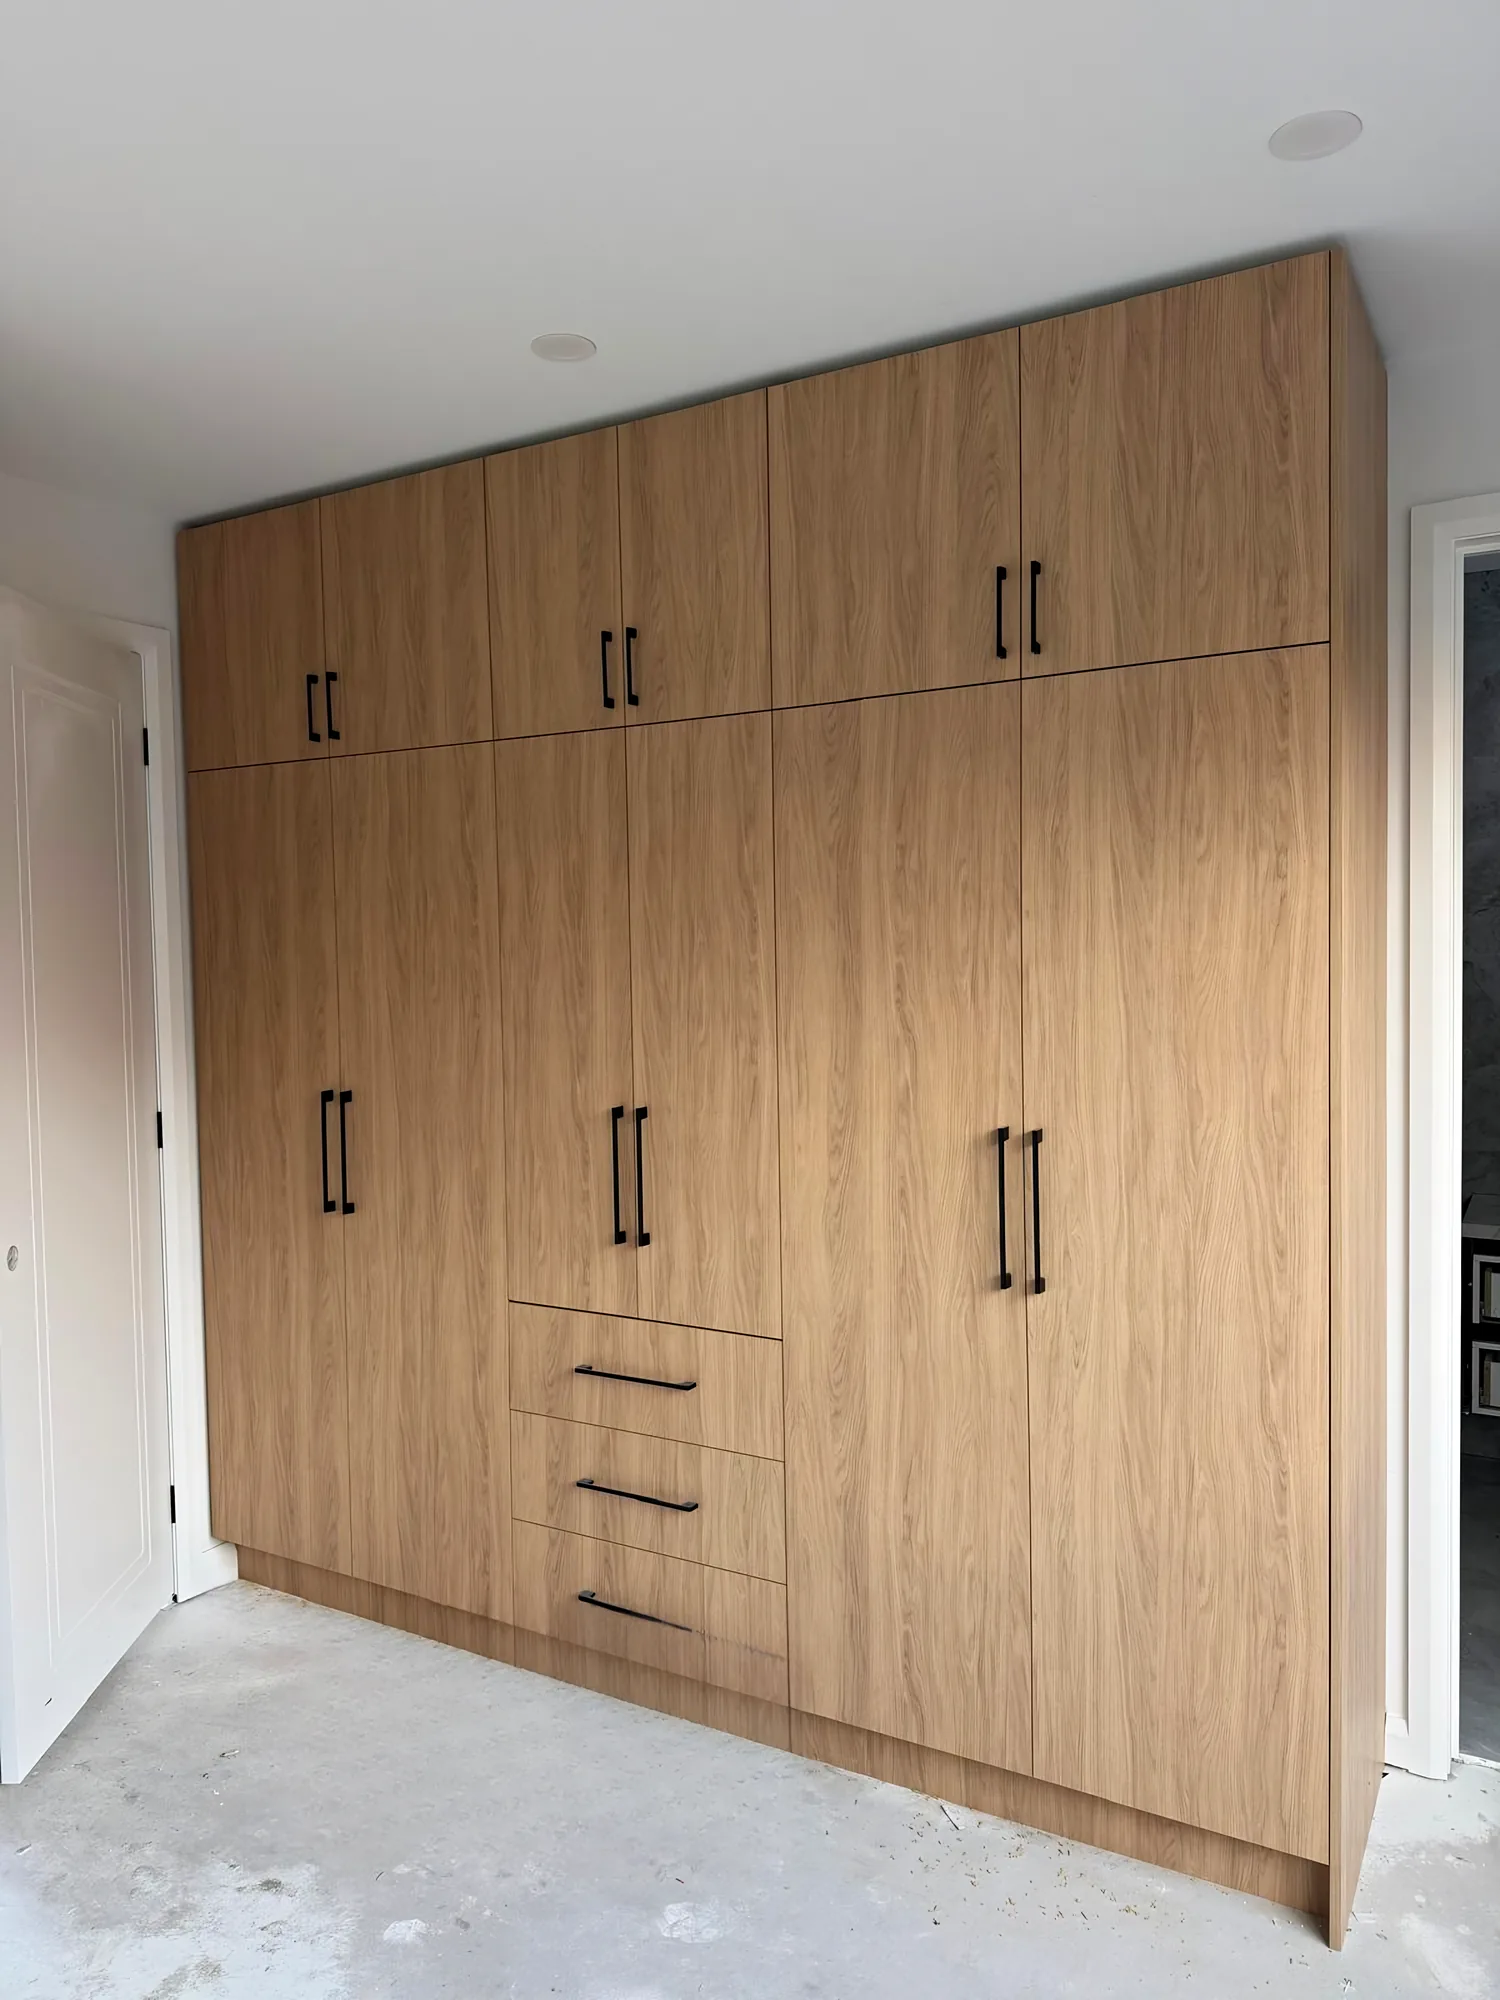
Benchtop & Hardware Updates
Handles, mirrors, hinges and kickboards: the details that finish a refresh.
Learn moreFree quotes
Get a free tiling quote
One enquiry can cover several jobs: a repaint and a roof clean, a pool recoat and the surrounds, a bathroom refresh before sale.
- Step 1: We read your request and look at any photos
- Step 2: We call, text or email you (your choice) to talk it through
- Step 3: Site visit if the surface needs a closer look
- Step 4: A free, no-obligation quote with the scope written down
Get a free tiling quote
Tell us about the surface and how you would like to hear back. Photos help us quote faster.
Tiling & Splashbacks, done properly.
Get a free tiling quote. Free, no-obligation, across Melbourne and Victoria.